Sunday, April 29, 2012

Rainbow Splatter Manicure

So this weekend I have time to play and decided to ATTEMPT a Rainbow Splatter Manicure.
Here are the colors I chose to use:


That's Snow Me White (Sinful Colors), Sun Worshiper (China Glaze), Fusion Neon (Sinful Colors), Blue Sparrow (China Glaze), Beach Green (Kiss Nail Art), and #2 Black Nail Art by Biora.

I did a base coat with Snow Me White, then went to town on the other colors all over my nails and ATTEMPTED to make paint splatters.


I then took the Black Nail Art polish and added some dots.

Hubby thought it was rather fun...but there was no way I would be able to do my right hand...so this manicure was ended short! LOL!!!

How do you like?  Let me know.

Now on to the next manicure.
Take care.

Wet N Wild Summer Getaway

What a surprise I got when I visited my local Walgreen's.
I was looking for the new holo's that everyone was talking about lately...
but, unfortunately, did not see any of those.
Instead I saw this little beauty!
The Wet N Wild Summer Getaway Kit.
It has 6 mini bottles of their fast-dry line, which I only have a couple of...and none of these colors.
So it was a no-brainer!  Especially being $3.99!


Isn't it cute?
The colors included are L-R:
9-0-2-1-Orange, The Wonder Yellows, Sage in the City, FuschiaRama, How I met Your Magenta, and
Buffy the Violet Slayer.

Also, the individual Wet N Wild colors were on sale for .69 cents and 
Sally Hansen Xtreme Wear are 2 for $4.00.

Now how could I pass up this sale?


I purchased another Black Creme (can never have enough black!), Kaleidoscope (a small holographic glitter in clear polish), Sparked (a small pink glitter in clear polish) and two Clear Top Coats (can never have enough Clear!)


I also purchased two Sally Hansen Xtreme Wear polishes.
Golden-I and Grey Area.
These two I swatched for you.

Golden-I has great coverage with two coats.  
A nice, light gold which I was missing from my nail polish collection.
Yes, I brought my nail wheels and knew that I needed gold! LOL!!!

Grey Area is a dark gray.  Great coverage as well with two coats.

Golden-I in the sunlight

Golden-I with just flash indoors

Grey Area in the sunlight

Grey Are with flash indoors


Hope you enjoy...take care!!!

My Ombre Nails Attempt with Sinful Colors

Here is my Ombre Nail Attempt for this week.

All done with Sinful Colors Nail Polish
Thumb: Soul Mate
Index: Pink Forever
Middle: Boom Boom
Ring: Feeling Great
Pinkie: Folly


Hope you like!

Take care.

Tuesday, April 24, 2012

Nabi Magnetic Nail Polish

Another trip to Walgreen's and another surprise!
I couldn't believe my eyes when I saw that there were Magnetic Polishes on display.
So of course I had to grab a couple. At $3.99 each it was not a problem!
There are no color names...UGH!
And the numbers on them are the same for each color, so no way to distinguish!
So I will just call them, Goldish, Bluish and Pinkish! LOL!!!


Here are the tops of the polishes...the magnets.


Now to see how they work!!!

Take care!!!


Sunday, April 22, 2012

A Nail Break!

So this morning I decided to do a bit of Spring Cleaning.
My brother is coming down to Florida with his girlfriend to visit soon,
and we really haven't cleared out that much since moving in to our beautiful house 11 years ago.

And look at what happened!  ACK!!!
It's cracked all the way.  I was devastated because this hand has grown in perfectly.


So I decided, after taking a poll with my friends on Facebook to file them down.


I know, they are not short, but they are shorter! LOL!!!

So on to new manicures with shorter nails.
Take care!!!


Saturday, April 21, 2012

Big Wheel Keep On Turning...

So let me warn you now...this post is very picture heavy.

Some thoughts first...I may have had this blog up for quite a while, but I still feel rather new at it all.
I started this blog to share little parts of life.
I have shared a bunch of my crafts that I have worked on through the years and now just recently I have gotten more into doing nail art, or at least having fun painting my nails.
I have gone over a bunch of times on whether I should have started a new blog for my nails, but I have come to the conclusion that doing my nails is just another part of my creating and I should share on my Krafty Kreations blog.  What do you think, I'd really love some feedback on this.

I seem to go through phases.  I mean, I still craft all the time that I can, but this year I have taken a step back from full force crafting and have been focusing more on nail polishes.  It was rather subliminal really.  After the holidays of 2011, I found myself with a big creative block.  I didn't know how to handle it because I was on such a run last year creating like crazy.  So I then started  getting into my nail polish and how to store them since I was getting quite the collection.
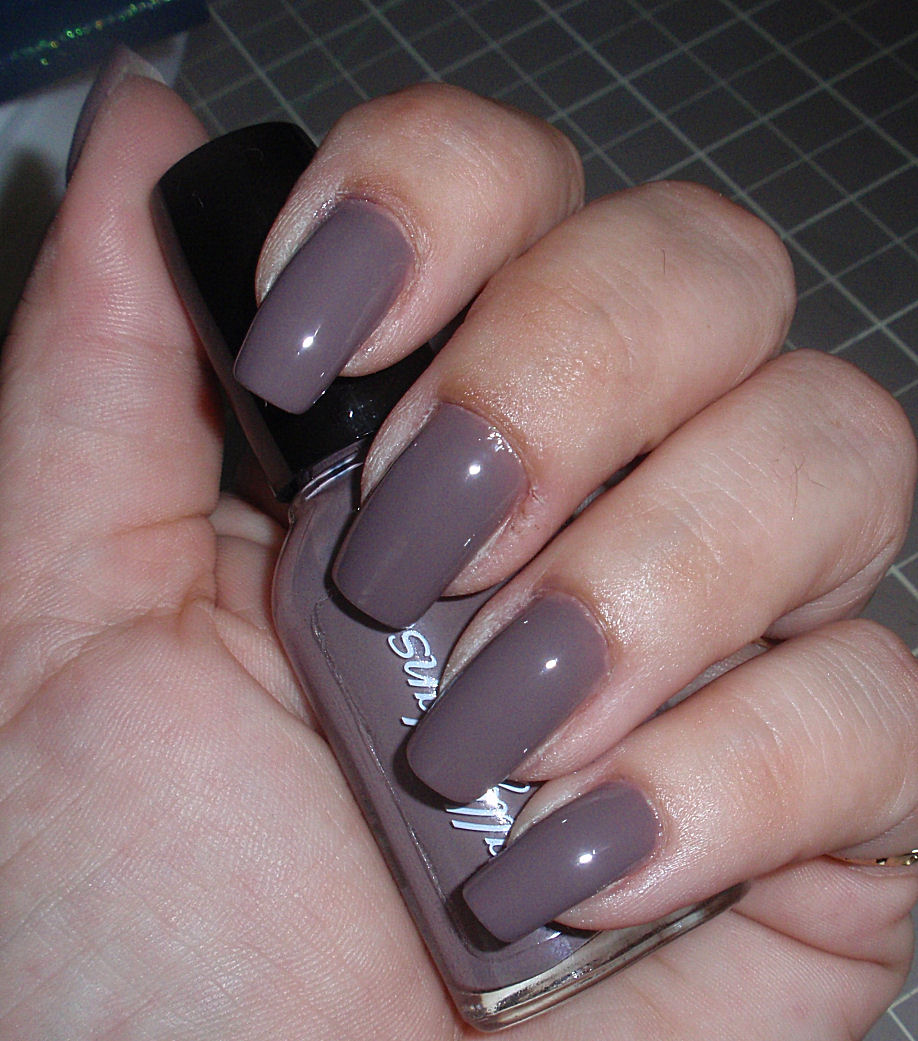
I have always picked up nail polish when at the store.  It just grabs my eye and I have to pick up one or two.
I am the type that purchases drugstore nail polish.  I do have a Sallys card and when nail polish is on sale, I will pick some up there, but for the most part I have Sinful Colors, Wet N Wild, Sally Hansen, Milani...and so on.

I also have this habit of being very organized when it comes to my supplies as well as gravitating to certain nail colors...both of these points get me into trouble, but I may have figured something out.
I went to Sallys and saw these nail wheels that everyone on YouTube has helped me out on using to catalog my nail polishes.
I love being organized, as stated, so I bought a bunch of them.
They have 18 nails on each wheel and 10 wheels per package.  Each package is about $5.00 so I bought some and thought I would share with you on how I have organized my nail polishes...Step by step.


Here they are in the package.

Here is an individual wheel

Now on to how I labeled them on the back.
I took a fine tip Sharpie marker and wrote the names and abbreviated the brand of nail polish for each nail on the wheel on the back.

Then I also labeled the wheels on the front as to each color or finish.
So here are my Assorted Finishes...I really don't have many yet.  
Some Crackles, Effects and Magnetics.

Ok, I am not going to explain each color wheel...I think it's pretty self-explanatory.
I did include each color I did...told you from the beginning it was going to be picture heavy!!! LOL!!!


Yes, even my glitters...I think I have been getting obsessed with these lately.  LOL!!


Then after I painted each nail polish on each wheel with 2 coats and they were all dry and labeled...
I punched a hole in each wheel...(yes it does pay to have some crafting supplies to help with your organizing! LOL!!!) and added a ball chain to keep them all together!

Now I figure I can keep this in my bag so when I am out and about I can make sure I either do not purchase any dupes, or I can make sure that I purchase colors that I 'need'.  LOL!!!

So then I got this bright idea that I can do this for my acrylic paints as well...
yes, I have plenty of those as well for crafting.

See, told you that my nail polish addiction can coincide with my crafts!!!

I did find out that in order to put two coats of your acrylic paints on the nail wheels, 
you need to use a soft brush.  The harder ones will not leave any paint on the wheel.

Here's the one I used.


I did the same thing in labeling the back with brand name and color name for each nail.


Here are some wheels with two coats of acrylic.


And here they are done and also with a hole punched and ball chain through them to keep them together.

So...since I did this, I was able to bring them with me to the store to get some items.
I do have one more suggestion...make the chain that keeps them together long.
You can even use floss, heavy thread...so on.
But I would suggest longer than I have here in the pictures.  
While at the store trying to get some more acrylics, it was great to have these wheels to see what I already have on hand, but a little cumbersome to go from wheel to wheel.
Also another suggestion...put your group of wheels into a plastic bag before you put in your purse to go out.
The acrylics especially can get damaged since you are not sealing them onto the wheel 
so you have the true color. Just some words of advice!

I hope that there are some of you out there that are just as 'organized' as I am.
Let me know your thoughts on this and I hope this helps you out in some way.

Take care!!!


Friday, April 20, 2012

Sally Hansen and Wet N Wild

Hi All!  Well, I have a few new nail colors that I was just able to purchase.
The first two are from the Sally Hansen line.
This first color is Hard To Tell.
It's a pearly white, and after two coats, it's rather opaque.
Well, more than other frosty whites that I have.

This is with inside lamp light.

This is in the sunlight.

This next one is Tough Taupe.
I didn't think I would like this color as much as I do.
It is more on the gray side to me than brown.

Inside lamp light.

Outside, sun-light.

Here we have Rain Check by Wet N Wild.
After two coats, I loved the color...but I don't think there are many blue-hued nail polishes that I don't like.
LOL!!!

Inside lamp-light.

Well, which do you like?  Would love to hear from you!
Take care.

China Glaze - Liquid Crystal and Sweet Hook

Today I have some China Glaze polishes that I got at Sally's.
It's buy 2 get 1 free month, so that works! LOL!!!

Blue Peacock (Neon), Liquid Crystal and Sweet Hook.

I even have swatches of two of these colors for you!
Love the Liquid Crystal.  It is a blue glittery wonder and who am I to not like blue or glitter? LOL!!!


Here is Sweet Hook.  It's a light lilac purple.


I of course, had to play and put the Sally Hansen Diamond 'Glass Slipper' over it.


Loved the sale at Sallys since I won't pay more than $5.00 a nail polish...it just seems wrong to me.
I know, I should try the more expensive ones to see the difference, but I don't have many stores around here that carry them to begin with.
And the 'cheaper' ones have done me well so far!

Take care!