Sunday, March 31, 2019

Back to Nature

Yes, another album!
This one is a bit more involved, 
not as simple as the last couple I have posted on.

I actually got the idea to make this album
from an album I purchased a long time ago.
The album I bought though, had rings and cardboard pages.
I made a spine for paper pages instead.


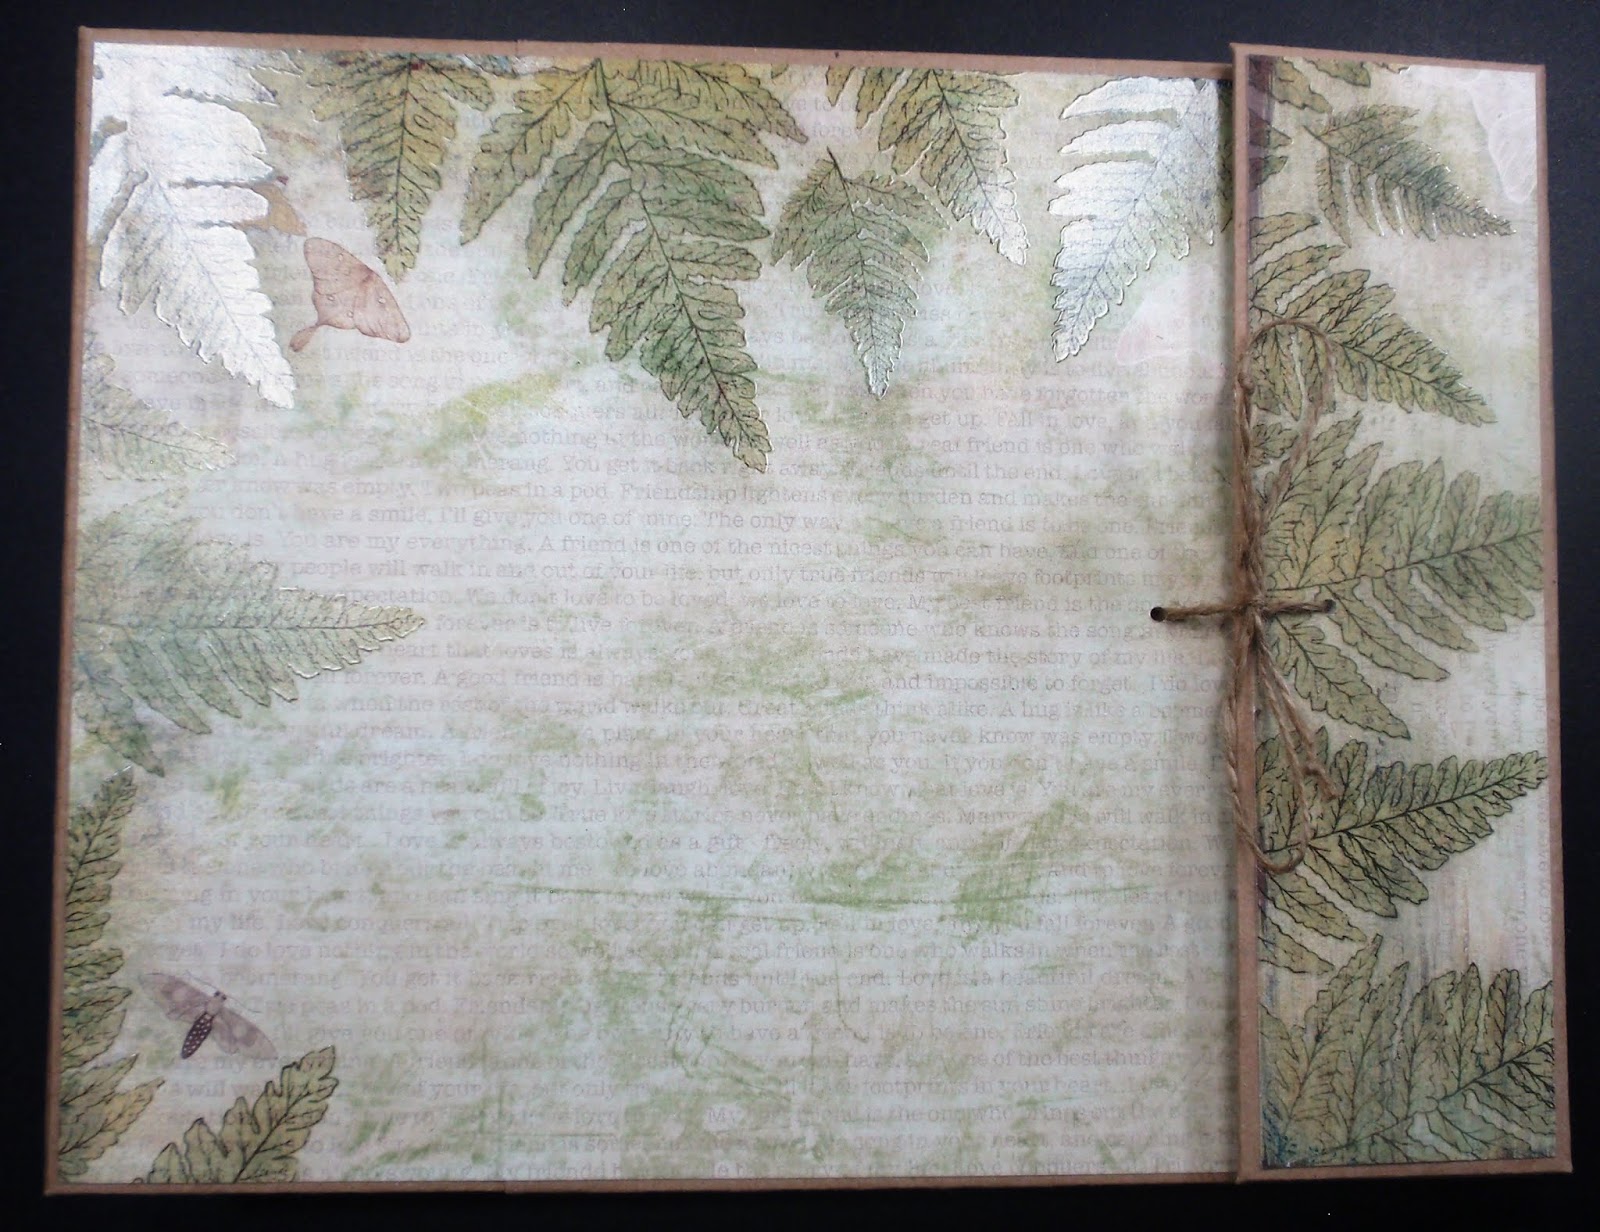
Here's the front of the album.
The flap comes around to get tied with some twine.
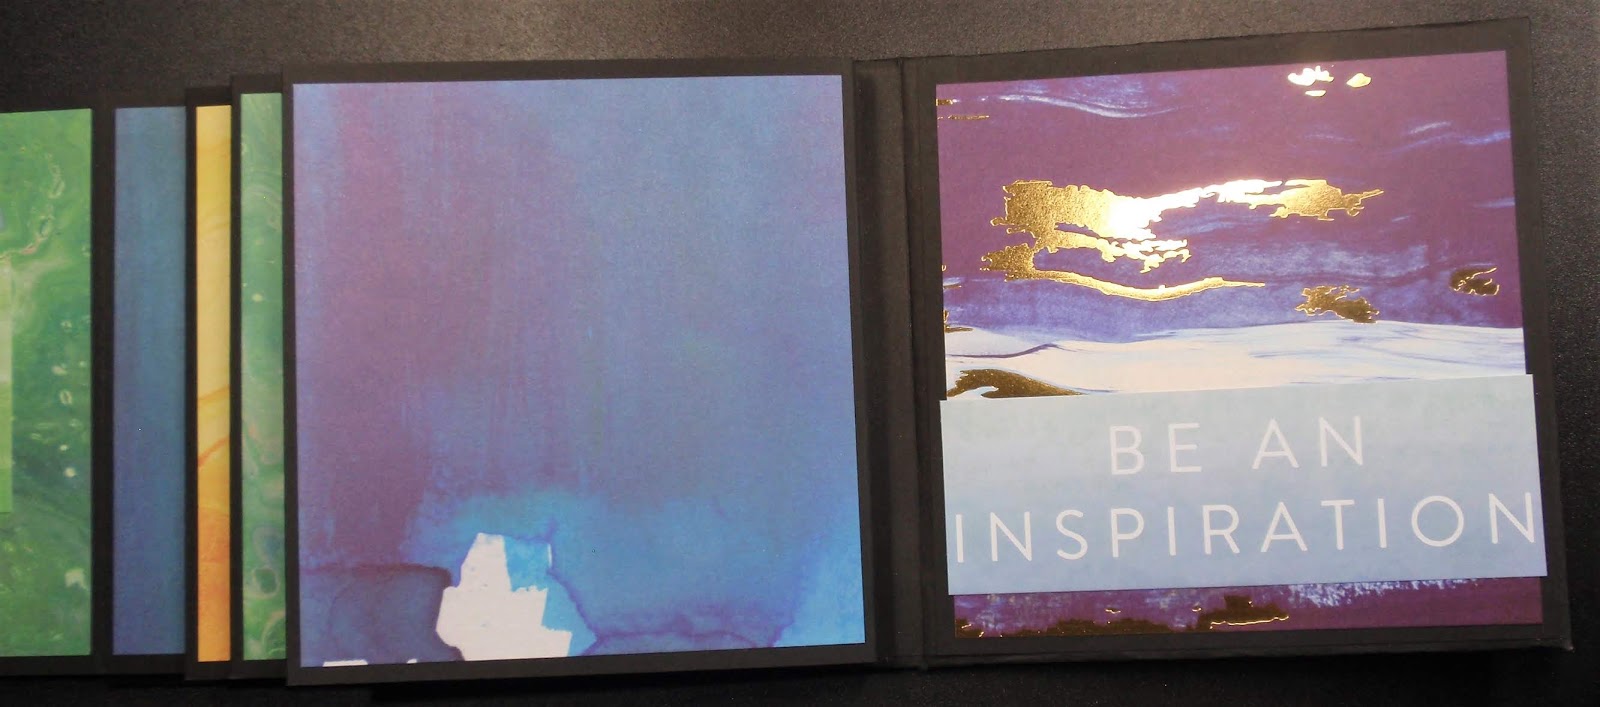

Here it is opened.
I made 5 pages and each has a gate-fold on the front
and a big tag in the back in a pocket.
This album is 8 1/2" x 11...so its rather big to put photos in.


Here's one of the front page gate folds opened.


Here's a picture of the back of the page with the pocket.

I hope the person I made this for likes it.
I thought of all the nature pictures they take around their house, so I figured they may enjoy an album to put them in.

I hope you enjoyed these creations...
and as always with all of the pictures on my blog...
you can always click on the pictures for bigger, detailed pictures.

Also...I would love to know if there is anything you would like to see on my blog.  Let me know if there is a specific item you would like to see used, or a theme...or any suggestions you may have about what you have seen.
I would love any feedback you may have whatsoever, just comment below.
I'd LOVE to hear from you!!!

Thank you so much for visiting and take care!!!

Sunday, March 24, 2019

Be Positive

This week I wanted to create an album with a new paper pad that I purchased from Michael's.
I thought it was so positive and bubbly when I saw it, 
I had to purchase it...
and it was a Hot Buy so it was a great price point.

I stuck with a simple layout, 
but did create a new page for the front of the book...
I"ll show you.


This is the cover.
I do love all of the positive sayings that it has in this pad and had to sprinkle them throughout the album.


This is the inside.
I told you, the positive sayings are awesome.


So this is more of the front cover.
What I did was use magnets and made an accordion of pages
on the front cover.
It came out well.


This is the back cover.

See, nice and simple again.
Baby steps for me to get back in the swing
of making something a bit more elaborate.

I made this album for someone that is so positive and happy to everyone and I hope they know how they put a smile on everyone's face.

I hope you enjoyed these creations...
and as always with all of the pictures on my blog...
you can always click on the pictures for bigger, detailed pictures.

Also...I would love to know if there is anything you would like to see on my blog.  Let me know if there is a specific item you would like to see used, or a theme...or any suggestions you may have about what you have seen.
I would love any feedback you may have whatsoever, just comment below.
I'd LOVE to hear from you!!!

Thank you so much for visiting and take care!!!

Sunday, March 17, 2019

A Little Wine

After last week's fail,
I wanted to do an easier album to get me back on track.
Does that happen to you???
you totally fail at a creation so your mood goes straight down and you beat yourself up so much that you don't even feel like creating?
Well, that happened to me, but I decided to at least do an easy album to get me up and running again.

It's a cute little 4" x 6" tri-fold album that I created with some papers I purchased a long time ago.


The closure was made with black glittered elastic trim I purchased from Hobby Lobby and a Pearl cabochon that I have no idea where it's from.


Here's the front cover and right cover.


Here it is open all the way.


The pages have flaps for more photos.


The backs of each page have flaps
that go the opposite way for photos.


So for a simple album, I think it turned out rather well.
It also got me out of my slump, so I appreciate this album!

Maybe now I will be on a roll and create some good things.

This album I made for someone that loves wine...or used to.
I hope they enjoy this.

I hope you enjoyed these creations...
and as always with all of the pictures on my blog...
you can always click on the pictures for bigger, detailed pictures.

Also...I would love to know if there is anything you would like to see on my blog.  Let me know if there is a specific item you would like to see used, or a theme...or any suggestions you may have about what you have seen.
I would love any feedback you may have whatsoever, just comment below.
I'd LOVE to hear from you!!!

Thank you so much for visiting and take care!!!

Sunday, March 10, 2019

Cookbook FAIL

This weekend I wanted to create a recipe book
that I saw on YouTube by
Donna Kauffman - Carta Bella Country Kitchen Recipe Album
and although most of it came out well...
It totally failed at the end.
I figured I would share my fail with you all
just so you know I don't only post what I think came out well.
I must admit, I probably have more fails than greats!!!
So...here it goes.


Here's the cover...came out well,
nothing spectacular since it failed at the end. 
Was glad that I failed before fancying it all up.


Front inside.  Love the pages on the right,
they are designed to hold recipe cards.


Front cover actually opens with folders so you can put magazine or paper recipes...or take out menus.


Here's the back cover pocket with an easel for you to be able to hold the recipe cards while cooking.


Here's the fail...
The pages just would not stay in.
They all fell out and would not stick at all.

I believe the pages were too heavy for the binding
that I had in the book.
I was SO disappointed that it didn't work.
As you can see...I WAS SOOOO CLOSE!!!!!
UGH!!!!!
But, I will try again.  I will not give this up.
I believe the concept and all the pages are awesome,
so I need to do this book in the future.
I am just going to put it to the side right now and go back to the old drawing board.

I hope you appreciate me sharing my fail.
I just wanted to show how close I got with this one.

I hope you enjoyed these creations...
and as always with all of the pictures on my blog...
you can always click on the pictures for bigger, detailed pictures.

Also...I would love to know if there is anything you would like to see on my blog.  Let me know if there is a specific item you would like to see used, or a theme...or any suggestions you may have about what you have seen.
I would love any feedback you may have whatsoever, just comment below.
I'd LOVE to hear from you!!!

Thank you so much for visiting and take care!!!

Sunday, March 3, 2019

For the Record

This week I saw the record player die that was came out and the card that people made with it and thought it was adorable.
But also thought that I can make something just like it without the die.  So here is what I came up with.


I think it came out pretty good.
I mean not as nice as with the die, but pretty close.


Here it is closed.


So here are the pieces I cut out to make this card.


I then took a 4" x 12" piece of double-sided designer paper
to the scor board and scored at 4", 7 1/2", 8" and 11 1/2".


Here it is scored.


Next, double sided tape on the 1/2" folded edge.
This gets attached to the back of the card,
but before attaching this, start attaching the record and other pieces since they need to be attached with a brad and you need access to the bottom.


This is how I attached all of the pieces to make the record player look as I wanted it to.


After attaching the back...here is how it looks done.
I love making different cards,
and this one was fun to figure out how to do.

I hope you enjoyed these creations...
and as always with all of the pictures on my blog...
you can always click on the pictures for bigger, detailed pictures.

Also...I would love to know if there is anything you would like to see on my blog.  Let me know if there is a specific item you would like to see used, or a theme...or any suggestions you may have about what you have seen.
I would love any feedback you may have whatsoever, just comment below.
I'd LOVE to hear from you!!!

Thank you so much for visiting and take care!!!